Method 1:
Open the “Photo Gallery” in the “Settings” of iPhone 17, then log in to www.icloud.com on your PC, use the same Apple ID to log in and select “Photos”. Click the “Upload” button in the upper right corner to upload local photos to iCloud, and these photos will automatically sync to the iPhone 17 album.
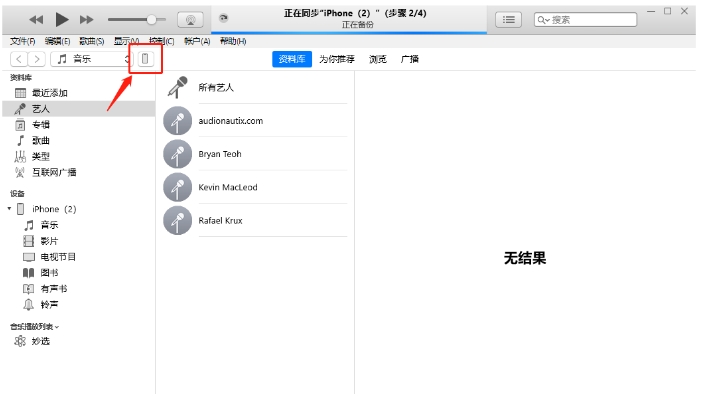
Method 2:
Firstly, ensure that the latest version of iTunes is installed on the computer. Connect the iPhone 17 to the computer using a USB cable, and iTunes will automatically recognize and connect the device. In iTunes, click on the iPhone icon in the device list on the left to enter the management page, select the “Photos” option, choose the computer folder or entire picture library you want to synchronize, and then click “Sync”. After synchronization is complete, the pictures will be successfully imported into the iPhone 17 album.
Method 3:
If the computer is a Mac and running macOS 10.15 or later, the air delivery feature can be used. Ensure that both iPhone 17 and Mac have enabled air delivery and are within each other’s Bluetooth and Wi Fi coverage range. Find the photo you want to transfer on your Mac, click the share button, select air delivery, and then choose iPhone 17.
